Monday 30 July 2012

Bench Crafted Moxon Vice

I had originally planned to make a new work bench and install the Moxon vice a permanent feature. After having a good look at the bench it was going to replace, I decided it would be easier to adapt this bench rather than build a new one.  
Here are the parts for the Moxon vice, simple, sturdy and very well made. The suede leather is to line the jaws. 


The first thing I did was to remove the vice which simply unscrewed from leg. I also removed the cross bar and dispensed with the sliding dead man. This would  allow me to sit at the bench and tuck my legs underneath, making close chisel work much more comfortable. I have also moved the bench top so that the overhang is on the right hand side, which will prevent the left hand leg from getting in the way.


The apron is 4" deep and the top is 1 3/4" which was perfect for holes to go in the middle of the 5" jaws. the holes for the rods were done on the drill press, but the holes through the apron had to be eye balled as the top was already assembled. You can see a rod positioned in the first hole as I drilled the second. I made sure the jaw protruded 2 mm as it will drop slightly once installed and it's much easier to plane the jaw level rather than the whole top!


Here is a shot from under the bench showing how the nuts just miss the underside of the1 3/4" thick top.


The nuts on the front side had to be recessed into apron. The nut could be captured with a square hole but it is neater and stronger to cut a matching hexagon.


Once the vice was installed hand planing it level was done quickly.


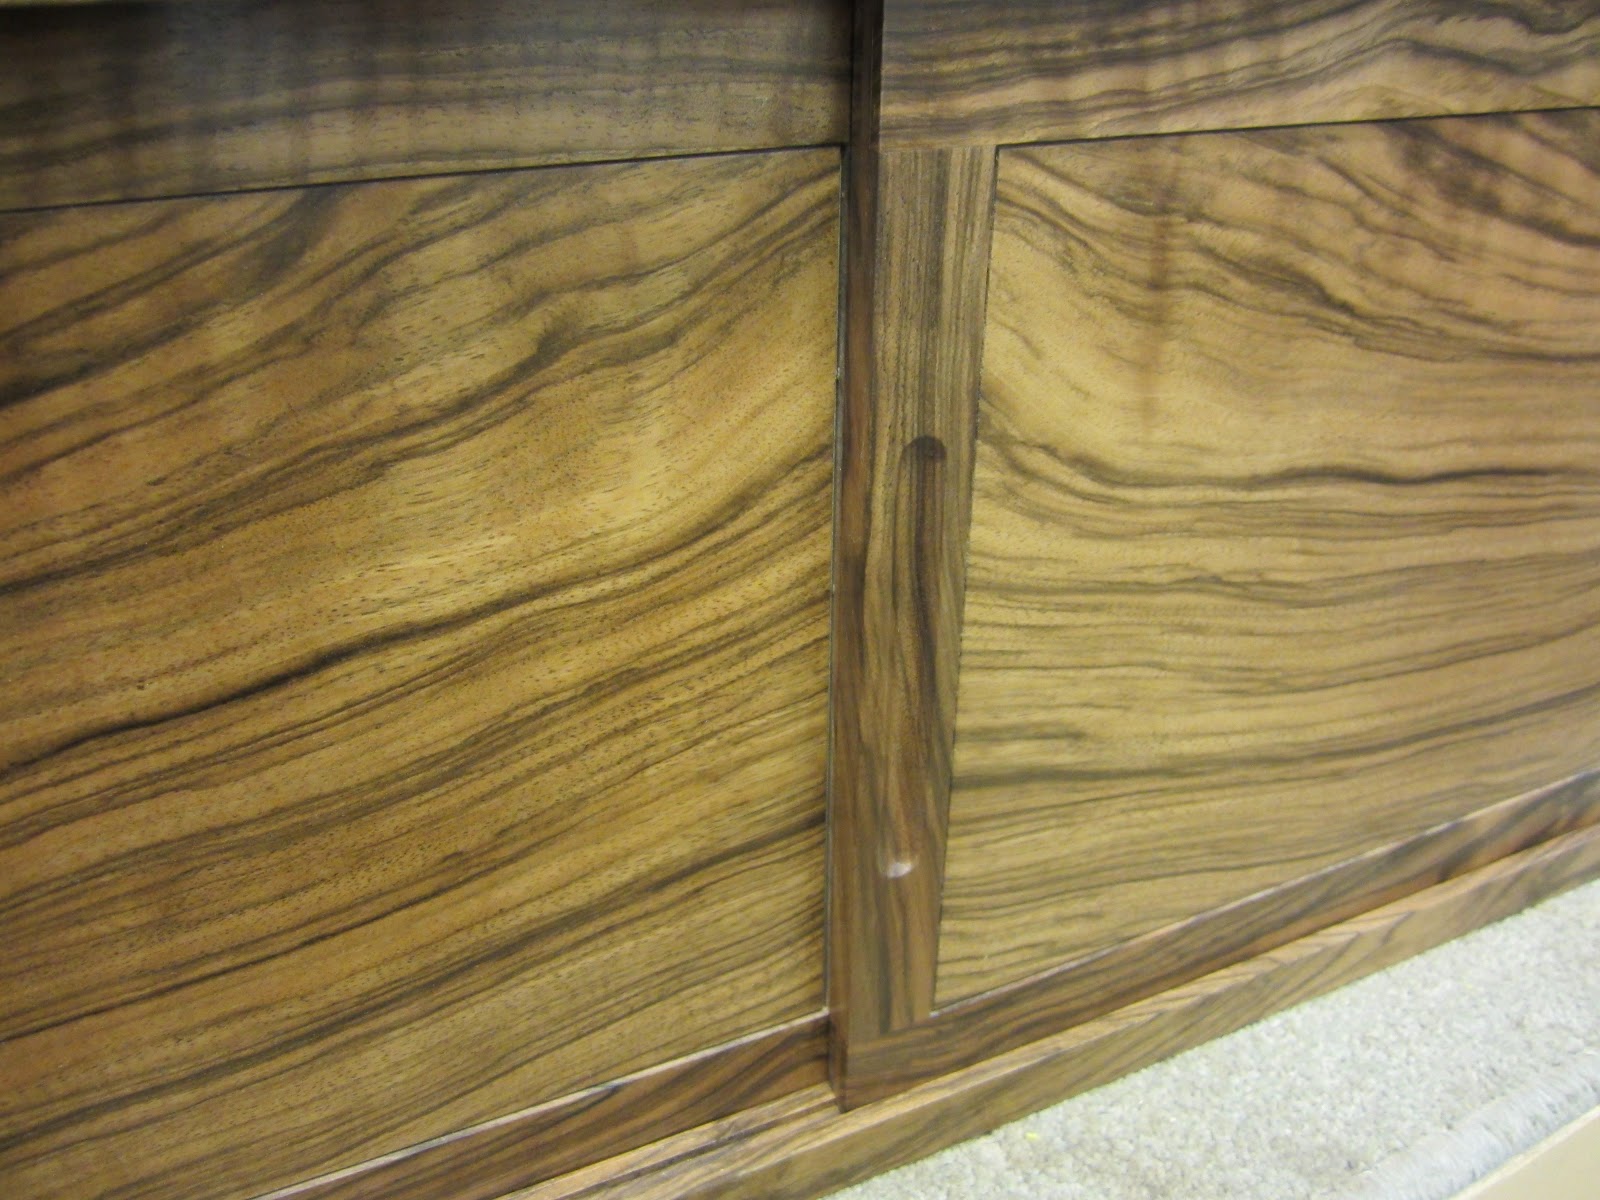
One of the problems with twin screw vices is that they wrack vertically. Obviously the nearer you get the screws to the top the better this will be, so with the holes only 2 1/2" down, this vice is pretty good. However as I often use very small pieces I also tapered the jaw by 2 mm over the 5" depth, which meant the jaws nipped up at the top first, just what I was after. You can see the slight taper in the picture above.


With a quick spray of dry PTFE lubricant (as recommended) the wheels ran very sweetly and worked just as expected. The depth of opening is limited by the capacity of the 8" screws, although I managed a 3" maximum which is more than enough for my cabinet making. After playing around with the wheels I actually reduced the capacity by winding in the threads a bit more under the top. This prevented the protruding screws from digging into my palms as I spun the wheels.


All that was left was to glue on the suede, round over the edges, fill the old holes and apply a coat of finish.
I'll be bringing this bench to the European woodworking show as well as Yandles, both in September.
I think we are going to become good friends!

Friday 27 July 2012

Birthday Tools


It was my birthday yesterday, 52 years old. Or as my wife quipped only 8 more years and you'll be 60!
I don't feel 52, I still have the same energy and drive as when I was 30.
Anyway it gave me an excuse to invest (that's a good word) in some new hand tools. I've had a 7" Incra square for a year or so and it's an excellent tool, better balanced than an engineers square and just as accurate. It's also guaranteed to stay square if it's dropped, but I haven't put that to the test yet. I bought (sorry invested in) the 5" version which doesn't sound much different, but it's about half the weight and much more handy for smaller work.


One very useful feature is a lip on the main stock which helps to support the square against an edge. I don't use my engineers squares any more.


It comes in a very nicely fitted box, although this has already been added to my box pile on a top shelf.


I also ordered a Gremercy holdfast which is about as simple a tool as you can get. It fits a 3/4" hole and is secured with a firm rap, it works very well.


It is shown here with a Veritas hold down and you can see it has a much better reach as well as depth. It also doesn't have the annoying habit of throwing off the nut when you want a nice firm hold. I think the Veritas will be on E Bay shortly.


I love nicely made tools and Starrett do just that. These didn't cost that much and my cheap Chinese ones have been binned, I'm learning!
The 3/4" augur bit is for holes in a work bench I'm just about to build, which this space.

Tuesday 24 July 2012

Workshop storage


While I was away in Holland I bought a large tool cabinet on E Bay which I picked up yesterday. Even though I had the measurements it still surprised me how big it was in real life. These are the cabinets used in car workshops and I was surprised to learn that each mechanic had to buy their own. The young man who sold it to me was emigrating to Australia and it was obviously his pride and joy, it wasn't cheap but it was a third of the new price.

I was fed up of having my tools spread out all over the workshop, in shelves, boxes, drawers, cupboards etc. This tool box is big enough to hold everything in one place with each drawer labelled with its contents. As I started to fill the cabinet it became obvious how useful this was going to be, I should have done this years ago!

Thursday 19 July 2012

Netherlands


At last something woody! This guitar shop was in the capitol of Zeeland, Middleberg.
The shop declared itself as having hand made and antique guitars and they must have been worth a fair bit as I was followed closely around. I don't know too much about musical instruments but I did see some incredibly fine grained spruce it these guitars.


The shop assistant didn't seem to keen on me taking photos see that's all I could manage before being ushered out!


No trip to Holland would be complete without a shot of one of these. There were surprisingly few around especially considering the force of the wind off the North Sea, in fact there seem to be far more giant wind turbines, a sign of the times.


This country is very clean indeed and I've never seen so many perfectly clipped hedges and neat gardens. The style of the houses is also distinctive and even the newer ones were sympathetic in style, take note England.


Many of the houses are very small although they seem to give the impression of being larger, maybe it's the large windows and bold roof lines. The older villages had a church at the centre, again immaculately tended, with a circle of old cottages and shops going right round, very picturesque.
We'll be back in the UK tomorrow, it's been a great break but I'm looking forward to seeing my workshop again, England isn't all bad!

Sunday 15 July 2012

Cycling Holiday in the Netherlands


On Friday we drove through the channel tunnel and on to the Netherlands for a cycling holiday. Saturday was a wash out and so we went shopping instead. We were discussing what typified Dutch food when we passed this shop!


Next stop was the supermarket and it was great to see some consideration given to the male of the species, every shopping trolley had a retractable rack for beer crates.


There was also a 'man bench' near the entrance.


The second day started much the same as our first, but we got the rain gear on and went out anyway. Here's my wife and son at the bottom of what classes as a hill in the Netherlands.


The day quickly brightened up and we were soon in T shirts cycling along the top of some lovely sandy beaches. Over here bikes seem to take priority over cars and they are very well catered for with excellent cycle paths everywhere.


The beer crates are even a good fit for bike racks. The local Amstel lager is lovely.
I've been keeping my eyes open but there's nothing woody to report.

Wednesday 11 July 2012

Japanese Dovetail Chisels


I ordered a set of dovetail chisels made by famous chisel maker Tasai from http://thebestthings.com/newtools/tasai_japanese_bench_chisels.htm
They have a very understated all black appearance. I will be making a special box to house these chisels and I'm very much looking forward to putting them through their paces.


The sides are very thin and ideal for dovetailing, the blue steel is tough and best for hard woods.


The Tasai stamp within a diamond shaping on the blade.


Here is the 3/4" chisel next to a top quality mokume chisel by Tasai senior, this one is definitely not understated!


Here is a picture of one of my standard chisels I use at shows, although the profile is dovetailed the sides were quite thick and required grinding down to make them suitable for fine dovetailing.

Sunday 8 July 2012

Dovetail Guides


I've had a real run on dovetail guides recently and my stock is dangerously low so I'm doing a large batch which I hope will last to the end of the year. I start with 60mm square stock of Goncalo Alves which is put through the table with four separate cuts to achieve the profile shown below. Above is the waste that came off the end of the table saw. I've never found a use for this, so with space tight it gets cut straight up into firewood.


The ten blanks were cut on the table saw using an dead accurate cross-cut sled with a backer board to minimise tear-out, this stuff splinters for fun!
I haven't shown a picture of my set up as it requires the removal of the guards and I don't want to encourage anyone to work unsafely.


Here's a couple of shots of 137 guides produced, this took a days very boring work to get the guides from rough stock to this stage. It was also quite tiring as you cannot afford to loose concentration on the table saw  if you want to keep all your fingers!
There is a lot more work yet to be done.


Wednesday 4 July 2012

Walnut wall cabinet


The wall cabinet started last week is finished and I'm very pleased with it.


The walnut is just fantastic and reminds me of chocolate being poured. But it was a pig to work, the grain kept reversing and tearing out and even my scraper plane didn't work as the wood was too soft. My random orbit sanders earned their keep! I finished it with shellac to hold up the background colour, oil would have made the wood too dark.


The door panels were carefully book matched to give the piece balance. For stability the panels were veneered, these were cut on my band saw to a thickness of about 1mm. Both doors were shot (on my shooting board) to fit at both ends, they also had to be a perfect fit at the middle which all took care.


The back panel was also veneered and book matched to correspond to the door panels.
The routed door pulls were nerve racking to produce with the doors being lowered onto a coving bit on the router table and then moved between two pre-set stops. All went well although there was more tear-out which needed patient hand sanding.


The client had particularly requested dovetails as a feature of this piece, although in practice the black lines and swirling grain prevented them from standing out. They were however totally necessary from a strength point of view as the cabinet will be hung with a hidden French cleat.
An article with dimensions and full construction details will be appearing in Furniture and Cabinetmaking magazine in the coming months.

Tuesday 3 July 2012

9" Smoother on E Bay

Beautiful Krenov style smoothing plane by David Barron. Bubinga & lignum vitae

http://www.ebay.co.uk/itm/300735838760?ssPageName=STRK:MEWAX:IT&_trksid=p3984.m1423.l2649


Just a quick post, I've been told that one of my high angled smoothers is being sold on E Bay if anyone is interested. Just type in David Barron on the search box and it should come up.